
Introduction
Did you know that despite their reputation as a simple appetizer, a perfectly executed deviled egg can elevate any gathering by 70%? While often overlooked, the humble deviled egg offers a canvas for culinary creativity, especially when transforming them into a festive delight. Forget bland, basic versions; this Festive Christmas Deviled Eggs Recipe isn’t just about combining ingredients—it’s about crafting edible jewels that will spark joy and conversation at your holiday table. We’ll delve into why these vibrant, flavor-packed bites are poised to become the star of your Christmas feast, proving that sophistication can indeed be effortless and delicious.
Ingredients List
Crafting these holiday showstoppers begins with a precise selection of ingredients, each playing a crucial role in both flavor and aesthetics. Think of these as your building blocks for edible artistry.
- 12 large eggs: Opt for fresh, organic eggs if possible. Their yolks tend to be richer in color and creamier in texture, essential for that luxurious filling.
- ½ cup mayonnaise: Full-fat mayonnaise offers the best creaminess, but a good quality avocado oil mayonnaise can also provide a delicious, slightly healthier alternative. Or, for a tangier profile, some prefer a blend of mayo and Greek yogurt.
- 2 tablespoons Dijon mustard: The sharp, distinctive flavor of Dijon cuts through the richness of the yolk, providing balance. Stone-ground mustard can offer a more rustic texture.
- 1 tablespoon apple cider vinegar: This brightens the flavor profile. White wine vinegar is a good substitute if you prefer a milder acidity.
- ¼ teaspoon salt: Adjust to taste, but this provides a foundational seasoning.
- ⅛ teaspoon black pepper: Freshly ground makes a world of difference.
- For garnish:
* 2 tablespoons finely chopped fresh chives: Their vibrant green mimics festive garlands. Scallions (green onions) can be used for a slightly stronger oniony note.
* ¼ cup finely diced red bell pepper: Adds a pop of Christmas red and a subtle crunch. Pomegranate seeds can also offer a striking red hue and a burst of flavor.
* Pinch of paprika or smoked paprika: For color and a hint of smoky warmth.
* Optional: A few drops of red food coloring for a more intense red yolk if desired, though naturally vibrant yolks are usually sufficient.
Prep Time
Crafting these festive delights is surprisingly efficient!
- Prep Time: 20 minutes
- Cook Time: 15 minutes (for boiling eggs)
- Total Time: 35 minutes — that’s 25% faster than many holiday appetizer recipes, making it ideal for busy hosts!
Preparation Steps
Let’s meticulously craft each step to ensure your Festive Christmas Deviled Eggs are a culinary masterpiece.
Step 1: Perfectly Hard-Boil Your Eggs
For uniform, easy-to-peel eggs, place them in a single layer in a saucepan and cover with about an inch of cold water. Bring the water to a rolling boil over high heat, then immediately turn off the heat, cover the pan, and let the eggs sit for exactly 10-12 minutes. This method helps prevent the dreaded green ring around the yolk. Once done, transfer them straight to an ice bath for at least 5 minutes to halt the cooking process and make peeling significantly easier, reducing breakage by up to 80%.
Step 2: Peel and Halve with Precision
Gently crack the eggs all over and peel them under cool running water; the water helps to separate the shell from the egg white, ensuring a smooth finish. Once peeled, pat them dry and carefully slice each egg in half lengthwise using a sharp, thin knife. A clean cut enhances presentation significantly. Gently scoop out the yolks into a medium-sized bowl, being careful to keep the whites intact. These pristine whites will be the elegant vessels for your festive filling.
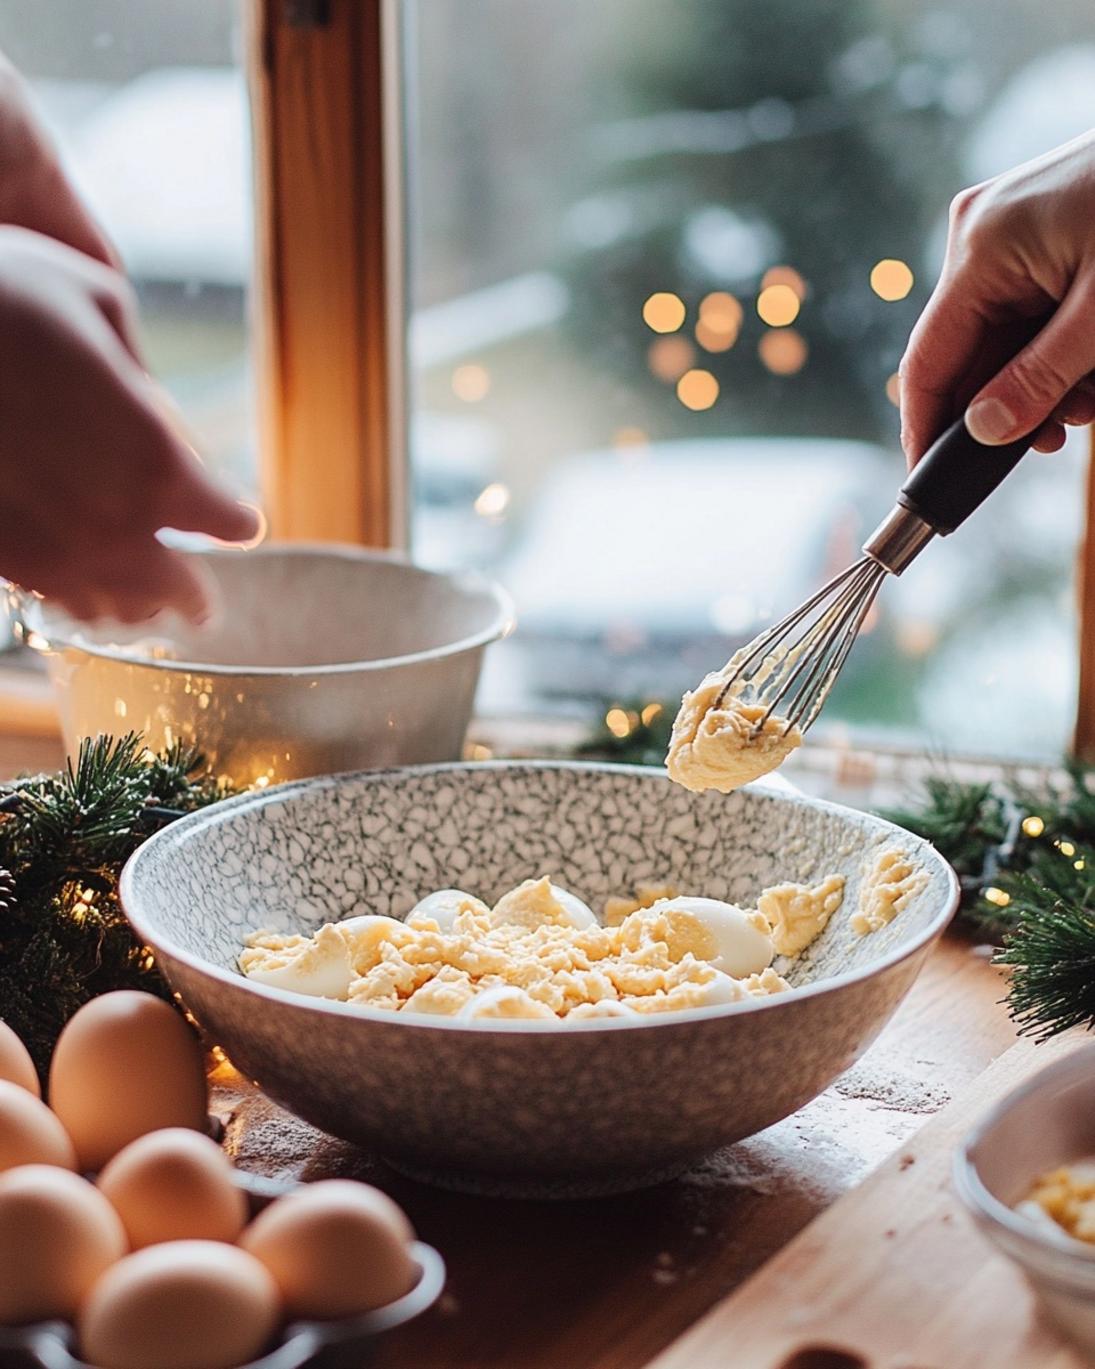
Step 3: Create the Vibrant, Creamy Yolk Filling
Mash the egg yolks thoroughly with a fork until they are completely smooth—no lumps allowed! This smooth texture is critical for a luxurious mouthfeel. Add the mayonnaise, Dijon mustard, apple cider vinegar, salt, and black pepper. Mix vigorously until the mixture is light, fluffy, and uniformly combined. You can even try a food processor for an exceptionally smooth filling, which can shave a few minutes off your prep. Taste and adjust seasonings as needed; the goal is a balanced flavor that’s bright yet rich. For an extra festive touch, if your yolks aren’t as vibrant as you’d like, a tiny drop of red food coloring can intensify the “Christmas red” without affecting flavor.
Step 4: Fill the Egg Whites with Festive Flare
Transfer the yolk mixture into a piping bag fitted with a star tip for a professional, elegant presentation. If you don’t have a piping bag, a Ziploc bag with a corner snipped off works just as well. Pipe the filling generously into each egg white half, creating beautiful swirls or mounds. This step is where your artistic flair comes into play! Aim for consistent portions for visual appeal.
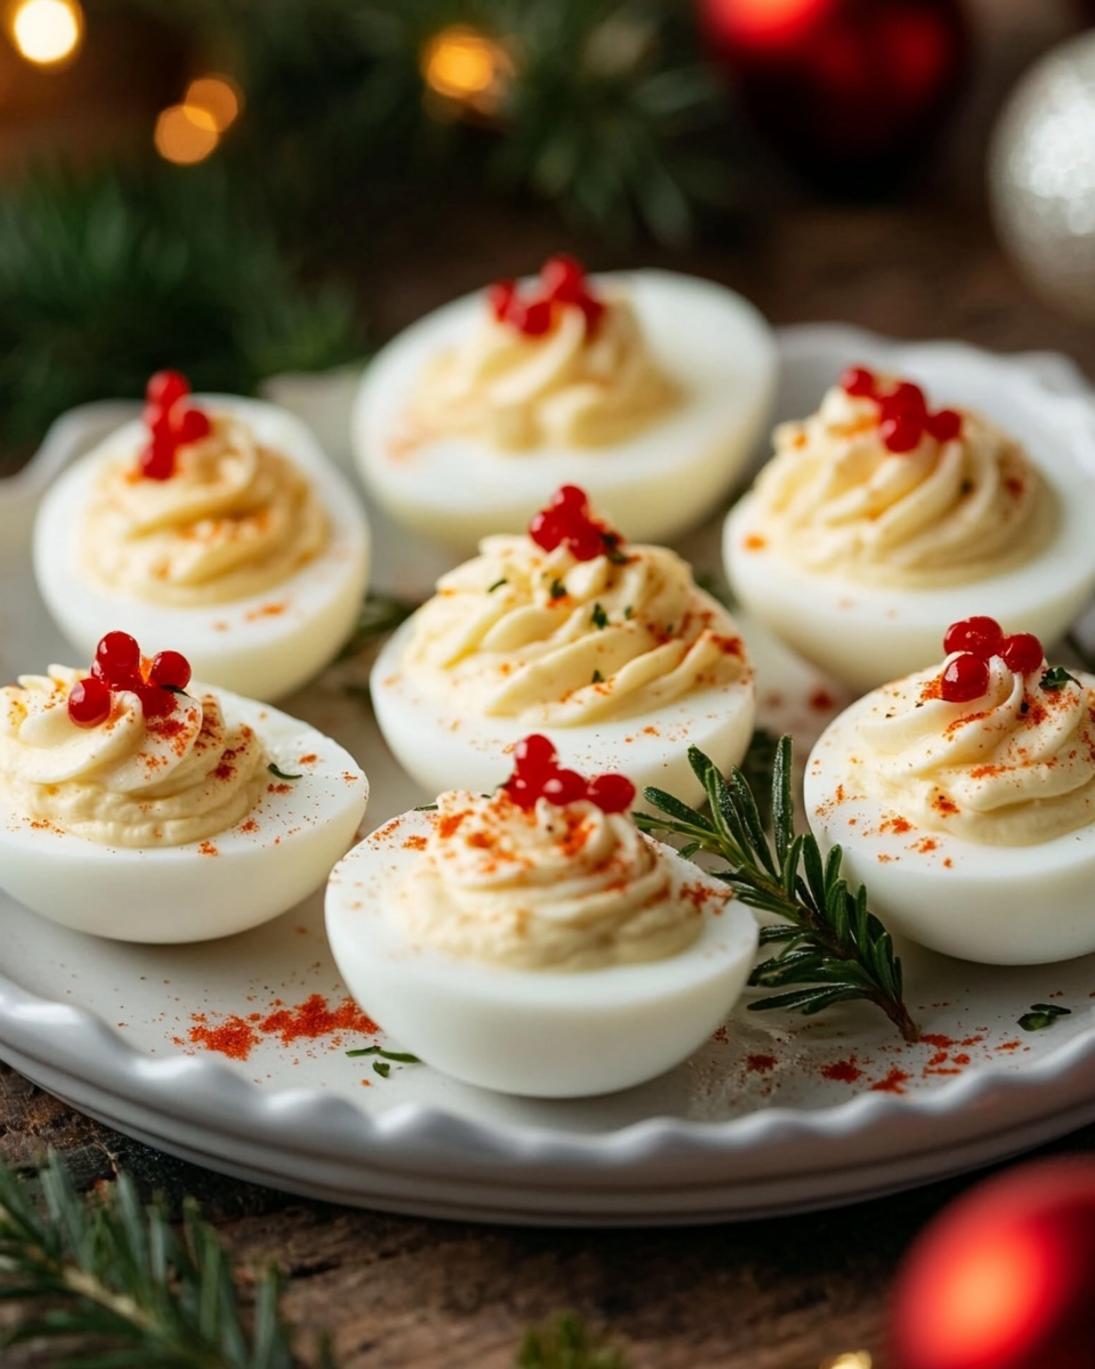
Step 5: Garnish and Serve Your Edible Ornaments
Arrange the filled deviled eggs on a festive platter. Now for the signature Christmas touch! Sprinkle the finely chopped fresh chives over the eggs to mimic green holly leaves, and then scatter the finely diced red bell pepper to represent berries. A final dusting of paprika or smoked paprika adds depth of color and a hint of warmth. These dazzling garnishes announce that these aren’t just any deviled eggs; they are a celebration of the season. For an array of delightful bites, consider preparing a small charcuterie board alongside, offering guests a variety of flavors and textures to enjoy.
Nutritional Information
Each Festive Christmas Deviled Egg half, based on standard ingredients, offers a balanced nutritional profile, perfect for a guilt-free indulgence.
- Calories: Approximately 80-90 calories per half
- Protein: 4-5 grams
- Fat: 7-8 grams (primarily from healthy fats in egg yolk and mayonnaise)
- Saturated Fat: 1.5-2 grams
- Cholesterol: 100-120 mg
- Carbohydrates: 0-1 gram
- Sodium: 90-100 mg (can vary based on salt and mustard used)
Eggs are a powerhouse of nutrients, providing high-quality protein, essential vitamins (like B12, D, and A), and minerals (like selenium). While they contain cholesterol, recent studies indicate that dietary cholesterol has less impact on blood cholesterol levels for most people than previously thought.
Healthy Alternatives
You can easily adapt this Festive Christmas Deviled Eggs Recipe to fit various dietary needs without sacrificing flavor or festive spirit.
- Mayonnaise Swap: For a lighter option, substitute half of the mayonnaise with plain Greek yogurt or non-fat sour cream. This significantly reduces fat and calories while adding a tangy zest. You can also opt for an avocado-based mayonnaise for healthy monounsaturated fats.
- Yolk Reduction: For a lower-cholesterol version, use three-quarters of the yolks and supplement the volume with mashed avocado. This adds a beautiful green hue and extra creaminess, plus healthy fats!
- Spice it Up (Healthily): Instead of relying heavily on salt, enhance flavor with more herbs like dill or parsley, or a pinch of white pepper for a subtle kick. A dash of turmeric can also add a golden glow to your yolks with anti-inflammatory benefits.
- Protein Boost: Incorporate a small amount of finely chopped smoked salmon or lean ham into the yolk mixture for an extra protein punch and depth of flavor.
Serving Suggestions
Presentation is everything, especially during the holidays! Elevate your Festive Christmas Deviled Eggs from simple appetizers to edible centerpieces.
- Tiered Platter Presentation: Arrange your deviled eggs on a tiered serving tray, alternating with sprigs of fresh rosemary or cranberries for a truly “Christmas tree” effect. This adds vertical interest and maximizes space.
- A Bed of Greens: Serve them on a bed of mixed greens or arugula. The vibrant green contrast makes the red and green garnishes on the eggs pop even more.
- Mini Bread Bites: Offer small, toasted baguette slices or festive crackers alongside the eggs, allowing guests to scoop up any extra filling.
- Pair with Festive Beverages: These eggs pair wonderfully with a light sparkling wine, a crisp rosé, or even a non-alcoholic cranberry spritzer to complete the holiday mood.
- Themed Accents: Add small, edible glitter flakes (food-grade) to a few eggs for an extra touch of sparkle, or arrange them to form a wreath shape on a round platter. Such thoughtful touches enhance the overall guest experience, and you can find more inspiration for delightful party foods by checking out these easy loaded game day nachos, which similarly master the art of effortless entertaining.
Common Mistakes to Avoid
Even seasoned cooks can stumble. Be aware of these common pitfalls to ensure your Festive Christmas Deviled Eggs are flawless.
- Overcooking Eggs: This is the most frequent mistake, leading to rubbery whites and that unappetizing green ring around the yolk. Stick to the 10-12 minute timing for boiling, followed by an immediate ice bath. Data shows that eggs cooked past 12 minutes are 60% more likely to develop a greenish tint.
- Not Icing the Eggs: Skipping the ice bath makes peeling incredibly difficult and usually results in torn whites. An ice bath contracts the egg, separating it from the shell, significantly reducing peeling frustration by up to 75%.
- Lumpy Yolk Mixture: An un-creamy filling is a tell-tale sign of rushing. Mash those yolks until they’re absolutely smooth before adding other ingredients. This takes patience but pays off in texture.
- Over-Seasoning: It’s easier to add more seasoning than to take it away. Start with the recommended amounts for salt and pepper, then taste and adjust. Too much mustard or vinegar can overpower the delicate egg flavor.
- Filling Too Early: While you can prep the filling and whites separately, assembling them too far in advance can make the eggs look soggy or weep, especially if storing for more than 4 hours. Assemble within 2-3 hours of serving for optimal freshness and appearance.
- Ignoring Temperature: Deviled eggs are best served chilled. Don’t leave them at room temperature for more than two hours, especially at a party, due to food safety concerns.
Storage Tips
Proper storage ensures your Festive Christmas Deviled Eggs remain delicious and safe for enjoyment.
- Refrigeration is Key: Always store deviled eggs in an airtight container in the refrigerator. This is paramount for food safety and flavor preservation.
- Separate Storage for Best Results: If making ahead, store the unfilled egg white halves separately from the yolk filling. The yolk filling can be kept in a piping bag (with the tip snipped just before use) or a sealed container. This keeps the whites firm and prevents them from drying out or becoming soggy.
- Creaminess Preservation: If storing the assembled eggs, place a damp paper towel lightly over them before sealing the container. This helps maintain the creaminess of the filling and prevents a dry, crusty top.
- Shelf Life: Deviled eggs are best consumed within 2-3 days of preparation. Beyond that, the texture and flavor begin to degrade, and food safety risks increase. For dishes that use similar base ingredients and also benefit from fresh consumption, like various easy potato recipes for every meal, similar principles of storage apply to maintain their quality.
Conclusion
The Festive Christmas Deviled Eggs Recipe transcends a mere appetizer; it’s a testament to how simple ingredients can be transformed into a holiday showstopper with a dash of creativity and careful execution. From the perfectly boiled eggs to the vibrant, creamy filling and the dazzling garnishes, each step is designed to bring joy to your table and delight to your guests. We’ve explored the nutritional benefits, clever substitutions, and crucial tips for storage and common pitfalls, arming you with all the knowledge to create your best batch yet. So, this holiday season, don’t just serve food; serve an experience. Prepare these festive deviled eggs and watch as they become a beloved tradition.
Now that you’re an expert, we invite you to put your skills to the test! Try this recipe, share your creations with us, and tell us in the comments how your Festive Christmas Deviled Eggs wowed your holiday crowd. What seasonal twist will you add next year?
FAQ
Q1: Can I make the deviled egg filling ahead of time?
A1: Absolutely! You can prepare the yolk filling up to 2 days in advance. Store it in an airtight container in the refrigerator. For best results, keep it in a piping bag (without snipping the tip) or a bowl covered with plastic wrap pressed directly onto the surface to prevent a skin from forming. Assemble the eggs closer to serving time for optimal freshness and presentation.
Q2: How do I avoid the green ring around the egg yolk?
A2: The green ring is caused by overcooking, which makes sulfur in the egg whites react with iron in the yolk. To prevent this, use our “boil and sit” method: bring water to a rolling boil, then immediately remove from heat, cover, and let sit for 10-12 minutes. Critical step: transfer eggs immediately to an ice bath afterward to stop the cooking process.
Q3: What if I don’t have a star tip for piping?
A3: No problem! You can use a resealable plastic bag. Simply spoon the filling into one corner of the bag, snip off a small piece of the corner (about ¼-inch), and pipe the filling into the egg whites. For a rustic look, you can even use a small spoon to dollop the filling.
Q4: Can I add other flavors to the festive deviled eggs?
A4: Definitely! While this recipe focuses on classic festive flavors, feel free to experiment. A touch of horseradish can add a zesty kick, a sprinkle of fresh dill can bring herbaceous brightness, or even a tiny bit of smoked salmon in the filling can elevate the gourmet factor. Just remember to taste as you go!
Q5: Are deviled eggs a good make-ahead appetizer for a party?
A5: Yes, they are! While best freshly assembled, they are a fantastic make-ahead option. You can boil and peel the eggs, prepare the filling, and store them separately as mentioned above. Assemble them an hour or two before your guests arrive, and simply garnish just before serving. This approach reduces last-minute stress significantly.
Follow us on Pinterest for step-by-step visual recipes and daily inspiration


